How to Remove Old Paint From Decking Without Compromising the Wood Beneath
A painted deck can dramatically change the look of an outdoor space, but when that paint begins to peel, crack, or wear unevenly, it quickly becomes a liability rather than an asset. Learning how to remove old paint from decking is an important step for homeowners who want to restore the appearance of their deck while protecting the structure underneath. Done incorrectly, paint removal can damage boards, shorten the lifespan of the deck, and make refinishing far more difficult than it needs to be.
Painted decks across Maryland often struggle because they are exposed to fluctuating temperatures, moisture, and intense sunlight throughout the year. These conditions place constant stress on the paint film, eventually causing it to fail. This guide explains why that happens, how to approach paint removal safely, and which methods work best depending on your deck’s condition. The goal is not speed, but long-term results that leave the wood ready for a durable new finish.
Early in the process, many homeowners also start evaluating whether refinishing is enough or if structural upgrades are needed. In those cases, it can be useful to review insights from experienced deck builders in Annapolis who regularly assess older decks and understand when restoration is realistic versus when replacement makes more sense.
How This Guide Is Organized
Why paint fails on decks and what that means for removal
Understanding your deck material and its limitations
Safety, preparation, and planning before any paint comes off
Proven methods for removing old paint and how to choose between them
Cleaning, surface preparation, and avoiding common mistakes
Knowing when professional help is the smarter choice
Long-term care after paint removal and refinishing
Why Paint Fails on Decks and Why Removal Matters
Paint behaves very differently on a deck than it does on siding or trim. While paint creates a solid film on the surface, deck boards are constantly expanding and contracting due to moisture absorption and temperature changes. Over time, that movement causes microscopic cracks in the paint. Once water enters those cracks, the failure accelerates.
Foot traffic worsens the problem. Painted decks experience abrasion from shoes, furniture, grills, and planters. Even routine deck cleaning can weaken compromised paint, causing it to lift unevenly. When this happens, simply painting over the old surface rarely solves the problem. New paint bonds poorly to unstable layers and often begins peeling within a short period.
Removing old paint completely gives you a clean, stable surface. It allows the wood to breathe again and creates proper conditions for a new coating to adhere evenly. Skipping or rushing this step is one of the main reasons deck finishes fail prematurely.
Understanding Your Deck Material Before You Start
Before choosing any removal method, it is essential to understand what your deck is made from. Most painted residential decks in Maryland are constructed from pressure treated pine, which is relatively soft compared to hardwoods. Aggressive sanding, high pressure washing, or excessive heat can easily damage this material.
Hardwood decks require even more caution. These woods are denser, but they also show damage more clearly if removal methods are too harsh. Composite decks add another layer of complexity. Many composite products were never intended to be painted, and removing old coatings from them can be difficult or impractical.
If you are unsure about your deck’s material or its overall condition, consulting a decking contractor in Columbia can help clarify what is realistically achievable and whether paint removal is the best next step.
Planning, Safety, and Preparation
Paint removal is not just a cosmetic task. It is a physically demanding process that introduces dust, debris, and in many cases chemical exposure into your outdoor environment. Proper planning at the beginning protects both you and your property, and it also plays a major role in how successful the final result will be. Skipping preparation often leads to rushed decisions, surface damage, and uneven results that become visible only after the new finish is applied.
Older decks frequently have multiple layers of paint applied over many years. Each layer may behave differently when disturbed, especially once scraping, sanding, or stripping begins. Because of this, personal protective equipment should never be optional. Long sleeves, durable gloves, and closed toe footwear help prevent skin contact with paint residue and chemicals. Eye protection shields against airborne particles, while a properly rated respirator reduces the risk of inhaling fine dust or chemical vapors. Even in open air environments, particles can remain suspended longer than expected and travel beyond the immediate work area.
Preparation also extends beyond personal safety. Surrounding landscaping, siding, and windows should be protected before any paint removal begins. Drop cloths or plastic sheeting placed beneath the deck and around its perimeter help capture paint chips and sanding dust, making cleanup far easier and reducing the chance of debris spreading into soil or nearby surfaces. Taking time to secure these materials properly prevents them from shifting as you move around the deck.
The deck itself should also be evaluated before work starts. Loose railings, unstable steps, and weakened boards become more hazardous once paint removal is underway. Scraping and sanding can change surface traction, increasing the risk of slips or missteps. Identifying and stabilizing these areas early allows you to work methodically rather than constantly adjusting mid project.
Good planning also includes setting realistic expectations for time and effort. Paint removal often reveals issues hidden beneath the surface, such as deep cracks, splintering, or previous repair attempts. Allowing flexibility in your schedule gives you the ability to address these discoveries properly instead of rushing through them. In the long run, careful preparation saves time, improves results, and creates a safer working environment from start to finish.
Methods for Removing Old Paint From Decking
There is no universal solution for every deck. Successful projects usually involve selecting one or more methods based on how firmly the paint is bonded, how many layers are present, and how delicate the underlying wood is.
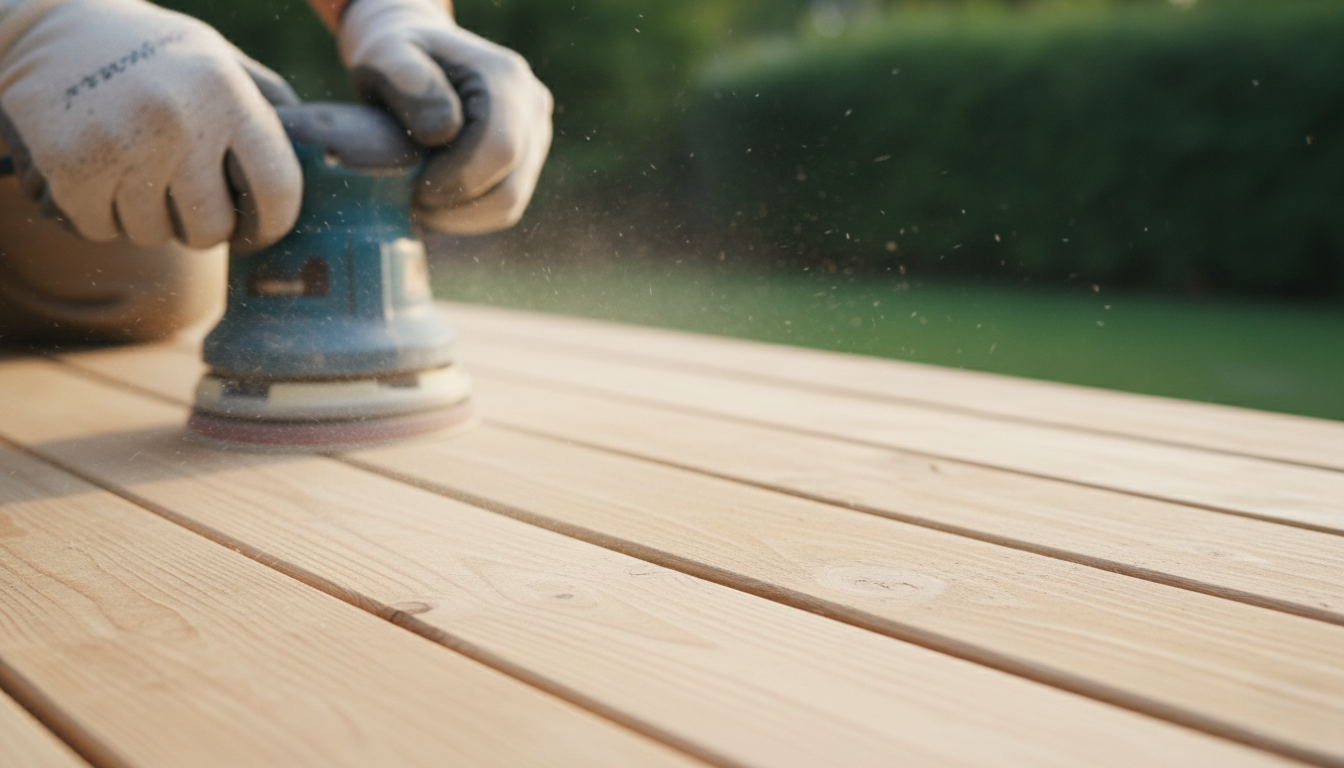
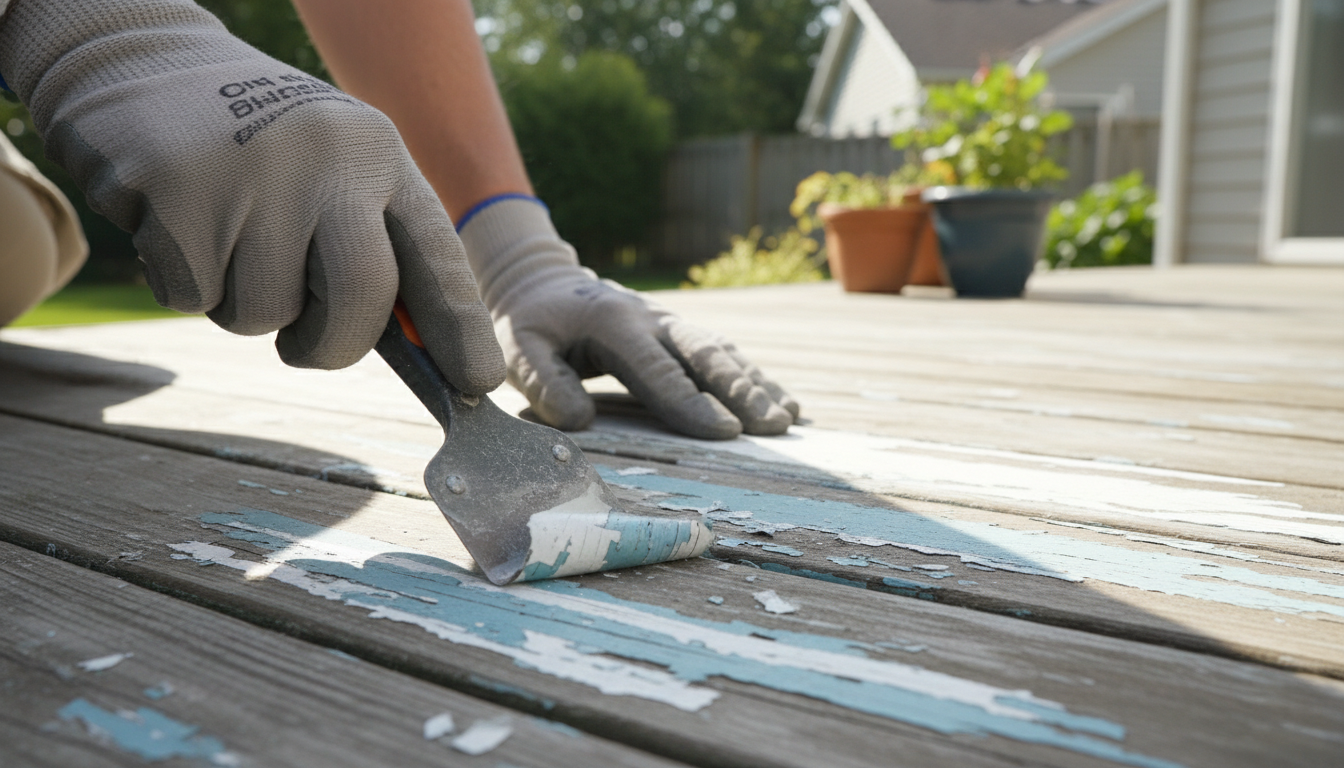
Manual Removal and Sanding
Scraping is often the starting point. Loose and peeling paint can usually be removed efficiently with sharp scrapers held at the correct angle. This method gives you excellent control and minimizes damage when done patiently.
Sanding typically follows scraping. It removes remaining paint residue and smooths raised grain. The key is restraint. Over-sanding weakens boards and shortens their lifespan. Multiple passes with progressively finer grit are more effective than trying to remove everything at once.
Manual methods are time-consuming, but they are often the safest choice for homeowners concerned about chemicals or nearby plants.
Chemical Stripping for Stubborn Areas
Chemical strippers are useful when paint has bonded tightly to the surface or when dealing with intricate railings and corners. These products soften paint so it can be scraped away without excessive force.
Not all strippers are the same. Some are designed for heavy buildup, while others focus on lower odor or easier cleanup. Following application and dwell time instructions is critical. Rushing this step leads to uneven results and unnecessary reapplication.
Chemical stripping is often the most effective way to remove paid from deck surfaces that have accumulated multiple paint layers over many years.
Heat and Pressure Washing as Supporting Tools
Heat guns can loosen thick paint layers, but they require patience and careful control to avoid scorching the wood. They are best used in limited areas rather than across entire decks.
Pressure washing can assist with paint removal after scraping or stripping, but it should be used cautiously. Excessive pressure damages wood fibers and creates a rough surface that is difficult to refinish. When used correctly, it can help rinse away debris and prepare the surface for final sanding.
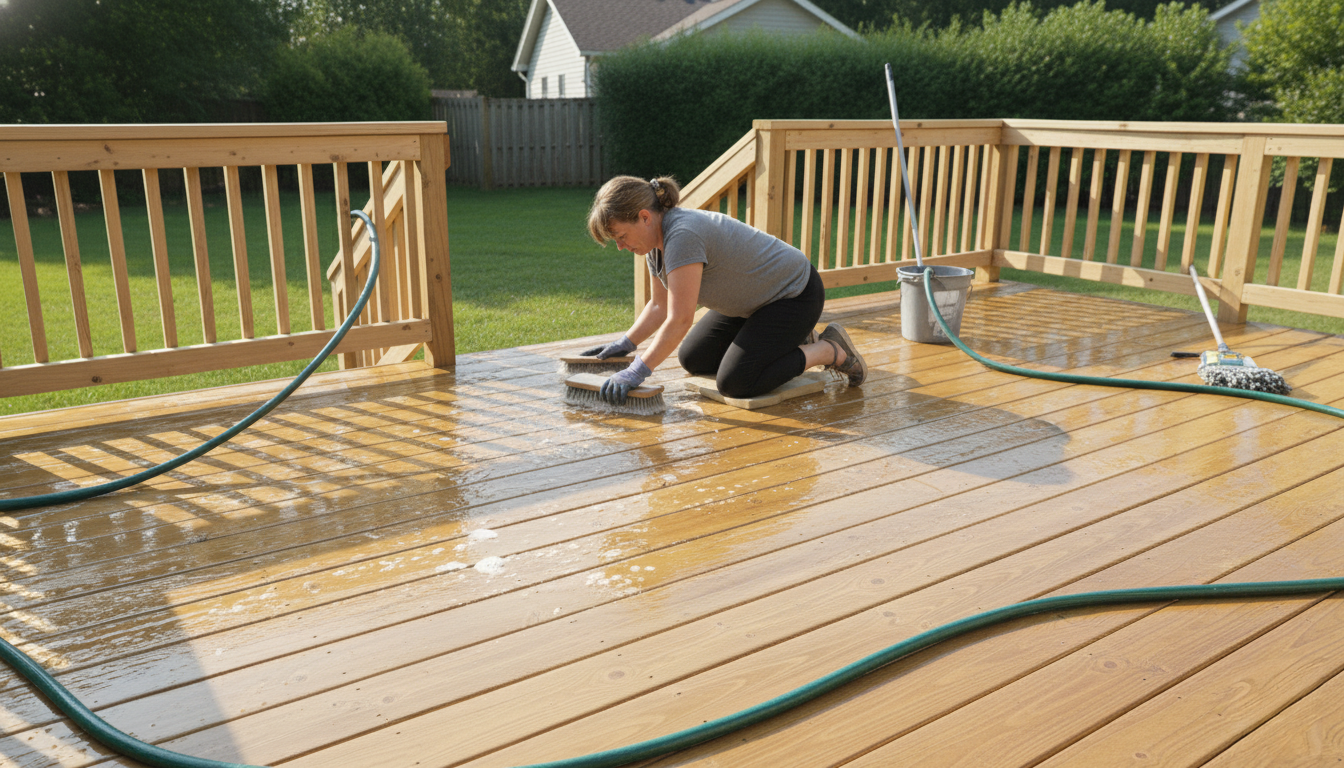
Cleaning, Surface Preparation, and Common Pitfalls
Once the paint is removed, thorough cleaning becomes essential. Any residue left behind can interfere with how well a new finish bonds to the wood. This includes fine dust from sanding, softened paint residue from stripping, and general debris loosened during the removal process. Rinsing the deck thoroughly and allowing it to dry completely before moving forward creates a clean, stable surface and helps prevent future peeling or uneven absorption.
Some chemical strippers require a neutralizing step to stop their action on the wood. Skipping this process is a common mistake and often leads to adhesion problems that only become noticeable after the new coating has been applied. Always follow the manufacturer’s instructions closely and allow sufficient drying time before moving on to sanding or finishing.
Another frequent error is underestimating the time required for this stage. Paint removal and surface preparation are labor-intensive, especially on larger decks or those with intricate railings. Rushing through cleaning or drying steps often results in uneven surfaces and missed areas that stand out once the deck is refinished.
Taking the time to clean and prepare the deck properly is one of the most important steps in the entire process. Careful attention here ensures that all the effort spent removing old paint translates into a smooth, long-lasting finish rather than avoidable problems down the line.
When Professional Help Is the Smarter Choice
While many homeowners can handle smaller decks or partial paint removal, some situations call for professional involvement. Large decks, complex rail systems, or surfaces with severely deteriorated paint can push do it yourself efforts beyond reasonable limits. In these cases, experience and proper equipment make a noticeable difference in both results and long-term durability.
Extensive Deck Size and Layout Complexity
As deck size increases, so does the difficulty of maintaining consistent results. Large decks require significantly more time, and fatigue often leads to uneven scraping, inconsistent sanding, or skipped preparation steps. Multi level layouts, built in seating, stairs, and decorative rail systems add complexity that can slow progress and increase the risk of mistakes. Professionals are accustomed to working efficiently across large surfaces while maintaining uniform results from one section to the next.
Heavily Deteriorated or Multi Layer Paint Conditions
Decks with thick paint buildup from many previous applications often respond poorly to basic removal methods. Multiple layers can hide underlying damage or cause uneven stripping, especially when different paint types were used over time. Professionals know how to assess these conditions and select the right combination of methods to remove paint without unnecessarily damaging the wood. Their experience allows them to identify when certain boards are better replaced than stripped, saving time and effort in the long run.
Long Term Planning and Structural Evaluation
Paint removal often reveals more than just bare wood. Cracks, fastener issues, and structural wear become visible once coatings are stripped away. Professionals can evaluate these findings objectively and help determine whether refinishing alone is sufficient or if targeted repairs are needed. Even homeowners who plan to complete most of the work themselves can benefit from early professional guidance, which helps avoid investing time and materials into a surface that may not be suitable for refinishing.
Choosing professional help is not about giving up control of the project. It is about ensuring that effort, materials, and time are invested wisely, especially when the deck plays a major role in the usability and safety of an outdoor living space.
Caring for Your Deck After Paint Removal
Once the deck has been stripped and refinished, ongoing care plays a major role in how long the results last. Fresh finishes look their best when they are supported by simple, consistent maintenance rather than occasional intensive work. Regular inspections allow you to spot early signs of wear such as thinning finish, small cracks, or areas that receive heavier foot traffic. Addressing these issues early helps prevent widespread deterioration.
Gentle washing is one of the most effective maintenance habits. Removing dirt, pollen, and organic debris reduces surface abrasion and prevents buildup that can slowly break down protective coatings. Use mild cleaning methods and avoid aggressive pressure that can wear away the finish prematurely. Keeping debris out of gaps between boards also supports proper drainage and drying.
Everyday use habits matter as well. Avoid dragging heavy furniture across the surface, and use protective pads under table legs, planters, and grills. Reapply finishes based on exposure to sun and weather, rather than waiting for obvious failure. With thoughtful care and attention, you can significantly extend the lifespan of your deck and delay the need to revisit how to remove old paint from decking again.
A Practical Takeaway
Removing old paint from a deck is a process that rewards patience, preparation, and informed decision-making. By understanding why paint fails, choosing the right combination of removal methods, and respecting the limitations of your deck material, you create a solid foundation for a long-lasting finish.
Whether you approach the project as a homeowner or seek professional input, knowing how to remove old paint from decking properly protects both the appearance and the structural integrity of your outdoor space.